Rather than record actual rules just yet, I wish to relate some of the thinking behind what I hope to achieve.
Right off, the aim is an 'Old School' set: removing casualty figures, fistsful of dice, keeping moral and reaction very simple. As an army level game I still want to retain minor tactics to as low a scale as can be achieved given the extremely high man-to-figure (tentatively 200:1) ratio. I have often read - in terms quite prescriptive considering this is an amateur hobby - that army or army corps level games preclude any consideration to what happens at Division or Brigade level. Sez who? I sure lord want to test that!
1: First of all, some clarifications of nomenclature:
Formation (big F): A Brigade, Division, Army Corps or Army. Also under this label comes a Column (big C).formation (little f): The manner in which a body of troops is formed up e.g. - column, line, or skirmish order.
Column (big C): An independent or autonomous Formation (big F) comprising at least two arms.
column (little c): a formation (little f) that comprises several lines - at least three - arranged one behind the other on a 2-company frontage in the case of battalion columns; a battalion or regimental frontage in the case of Brigade or Division columns.
 |
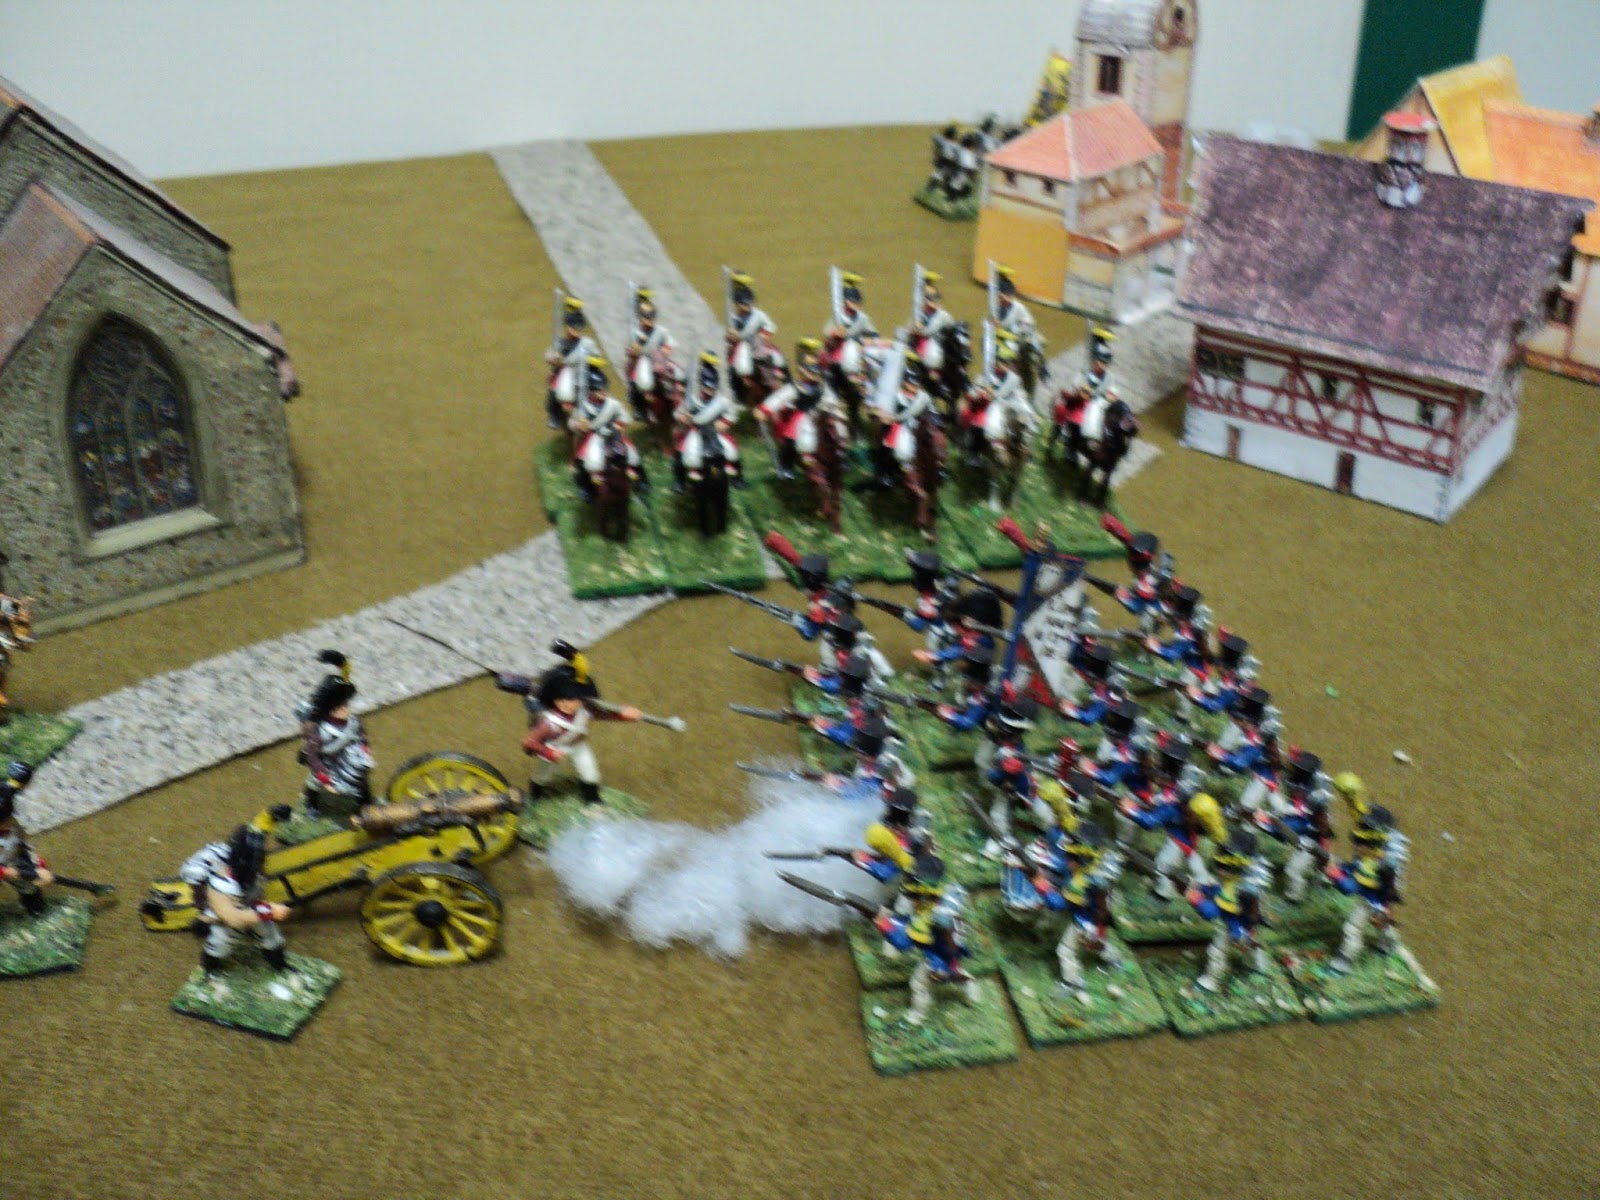
| Work in progress, III Army Corps: 4 Infantry Divisions, 1 Cavalry Brigade and Artillery. The last will probably be based somehow (see infra) |
2. Army Composition.
The standard tactical units (tacunit) - in fact a Formation - will be the infantry Division, comprising anything from 16 to 48 figures, and the cavalry Brigade, comprising 8-16 figures. This tacunit may form:
- a column of march 2 figures broad (file);
- a battlefield or assault column comprising at least 3 ranks and no more than 6 single files;
- a deployed formation of one or more single rank lines, possibly with skirmishers deployed ahead;
- some sort of ordre mixte formation yet to be determined..
In general, artillery will represent the Army Corps artillery inventory total, but may represent simply the reserve, with divisional artillery represented separately, with just one or two crew figures representing a smaller battery.
A tactical subunit, representing formal or ad hoc Brigades or Brigade-sized detachments may be formed from groups of up to 16 infantry figures, though probably more often in the range of 4 -12, and 4-8 cavalry (for campaign work cavalry pickets of 2 figures may be included in the rules, though these are unlikely to have any on-table presence or significance. Yes, yes, 400 troopers is a bally big 'picket' but it would represent something a bit more complicated: scouts, pickets, grand guard and reserve). Most often these will be specialist detachments such as light infantry intended for a skirmisher role, or engineer detachments performing an engineering task.
A Column may comprise two or more arms: horse and foot, horse and guns, foot and guns. It may also comprise all three. An ad hoc all arms Formation possibly rather weaker than a standard Army Corps strength, may well be described as a Column, or informally as a corps, rather than the more formal expression (Army) Corps.
At present, my French Army is looking something like this:
I Corps: 3xInfantry Divisions @ 24 figures; 1x light cavalry Brigade @ 12; 1xgun @ 4 figures. (Total 88 figures)
II Corps: As I Corps
III Corps: 4xInfantry Divisions @ 24 figures; 1xlight cavalry Brigade @ 12; 1xgun (Total 112 figures)
IV Corps: As III Corps.
V Corps: As I Corps.
VI Corps: As I Corps.
Imperial Guard: Old Guard Division @ 20 figures; Middle and Young Guard Divisions @ 24 figs;
1x 12pr gun; Engineer detachment @8 figs (?) (Total 80 figures)
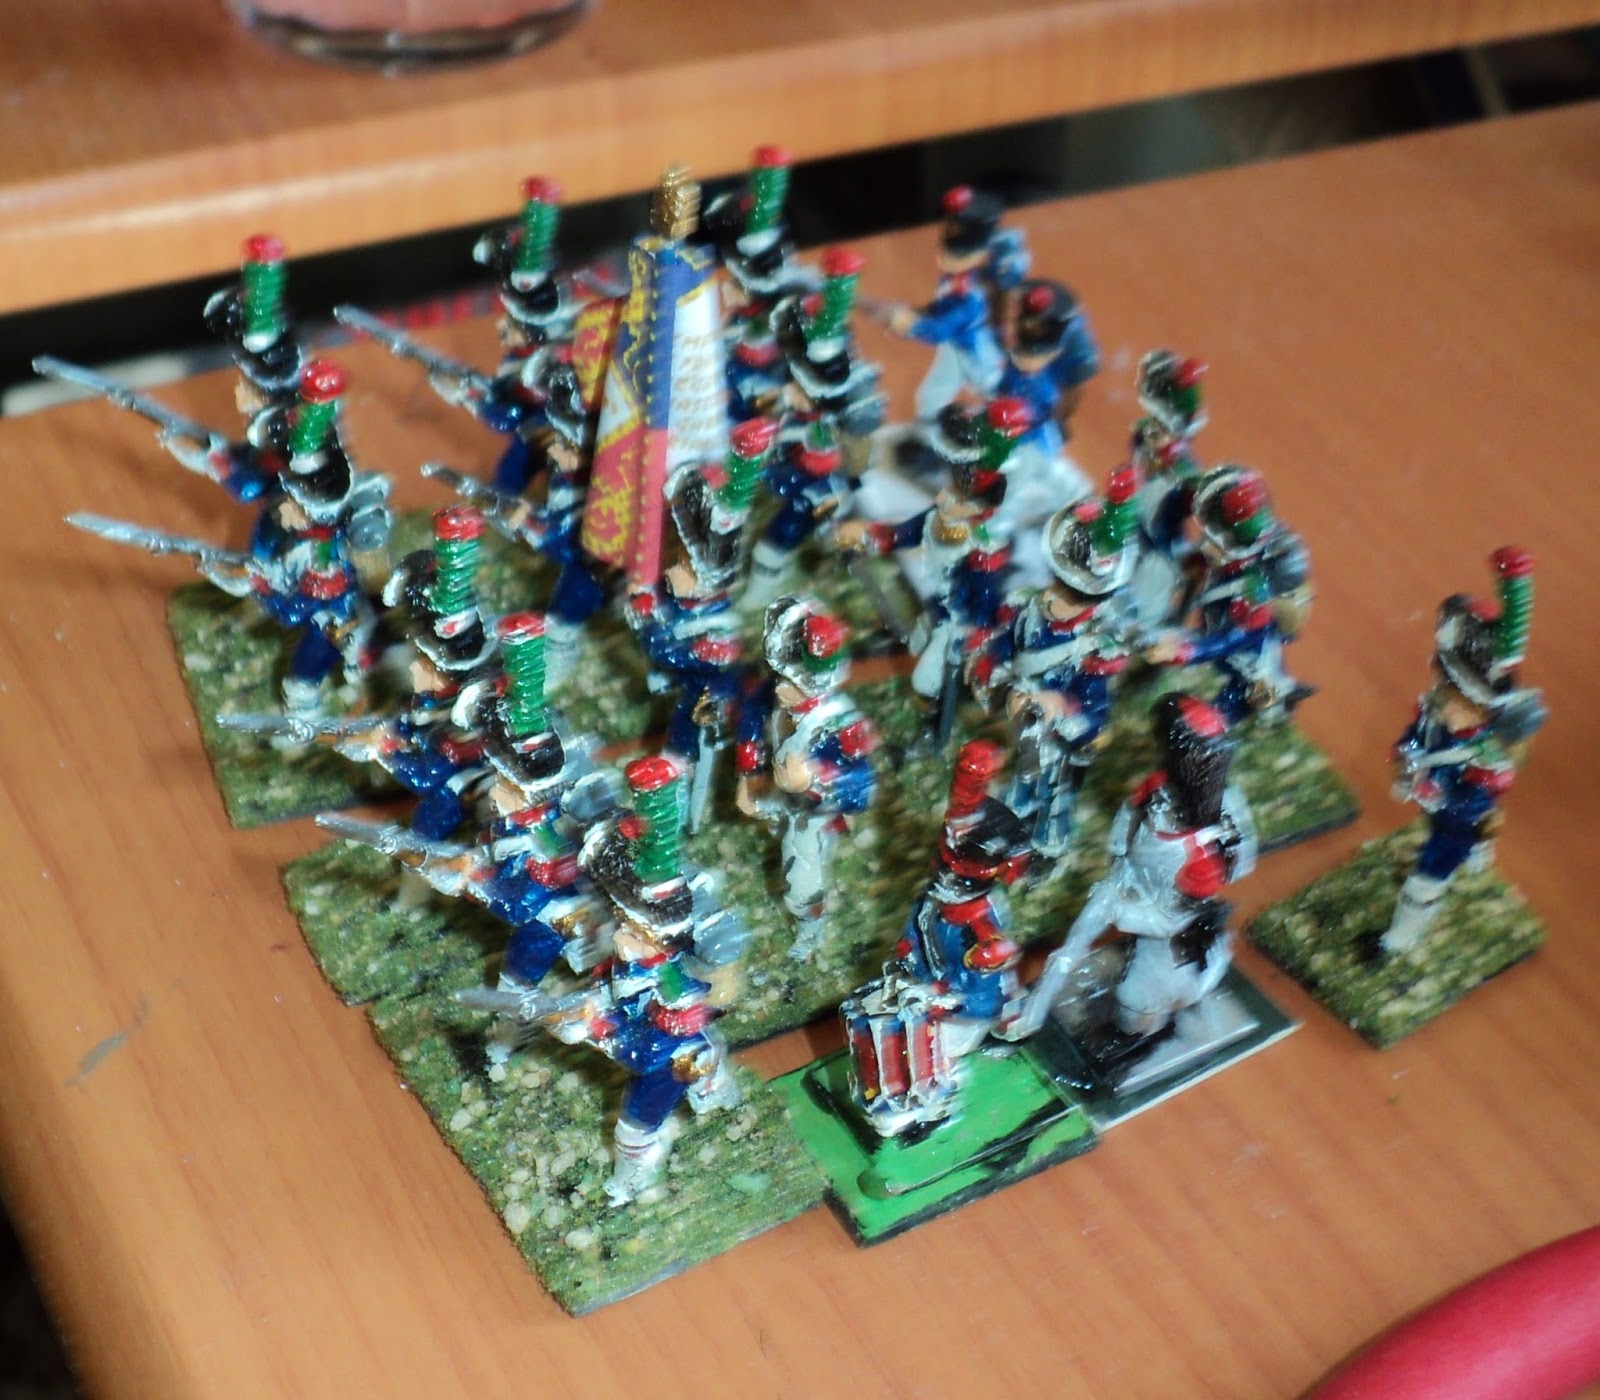 |
| A rather fuzzy photo of the Old Guard. The figures have been eked out by a couple of shako wearing guys... Even so, at 20 figures, this is the smallest Division in the French Order of Battle. |
Grand Total: 732 figures, not counting generals and their staffs.
The other armies are looking a bit more complicated. So far only the Austrian Army looks anywhere complete, and then nearly every Army Corps is different:
I Corps: 3xInfantry Divisions @ 24 figures; 1 Jager Brigade @ 12 figures; 1 Uhlan Brigade @ 12 figures; 1x6pr gun. (Total 100 figures)
II Corps: 2xHungarian Infantry Divisions @ 24 figures; 1xHungarian Grenadier Division @ 24 figures; 1xFreikorps Jager 'Division' @ 18 figures; 1xChasseur Brigade @ 8 figures; 1x12pr gun. (Total 102 figures)
III Corps: 3xInfantry Divisions@ 24 Figures; 1 Jager Brigade @ 12 figures; 1 (Light?) Dragoon Brigade @ 12 figures; 1x6pr gun. (Total 100 figures)
IV Corps: 2x Infantry Divisions @ 24 figures; 1 Grenze Division @ 24 figures, 1 Hussar Brigade @ 16 figures; 1x6pr gun. (Total 92 figures)
V Corps: 2x Infantry Divisions @ 20 and 18 figures; 1x Grenadier Division @ 16 figures; 1 Grenze Division @ 24 figures; 1 Hussar Brigade @ 16 figures; 1x 6pr gun. (Total 98 figures)
I Reserve Corps: 2x Grenadier Divisions @ 24 and 16 figures; 1 Cuirassier Brigade @ 12 figures; 1 (Heavy) Dragoon Brigade @ 12 figures; 1x 12 pr heavy gun; 2x 3pr light guns. (Total 76 figures).
Grand Total: 568 figures, not counting generals and their staffs.
3. Scale.
This remains fairly tentative, but is looking like this:
Figure scale: 1 figure represents 200 men.
Artillery (model) scale: Taking 100 men to maintain, transport and serve 4 guns (a trifle generous), a model gun with 4 crew figures will represent an artillery corps of 800 men, and hence 32 guns. However, it is the size of the crew that will determine the size of battery represented. A gun with a single crew figure would represent a battery of 8 guns only.
Ground Scale: 1 centimetre represents 30 meters - a scale of 1:3000. In Imperial measures, 1 inch represents 250 foot, or 83 yard and 1 foot.
Time scale: 1 minute represent 1 hour.
 |
| A Light Horse (chasseur) Brigade in a battlefield column. It probably represents successive regimental lines, rather than a column as such. |
Now, I want to discuss this at some length. Over many years, this topic has been discussed, a lot of concern being expressed about the necessity for fudging this aspect. When a game turn represented, say, 3 minutes, and an army level game achieved a decisive result in 10 turns, we found a big battle as we imagined it, having taken all day to play, being over in a flash (so to speak) - a single half-hour. Something didn't quite gel.
We tended to introduce some kind of 'fudge factor' that transformed this perceived anomaly into a reasonable time-frame - 3 or 5 hours, say. But the fudge factor never did feel convincing.
 |
| A Light Horse Brigade on march column. Though I accept that at two figures broad, the column is far from as deep as it should be, I prefer this 'fudge' as more visually pleasing than a single file. |
It was a recent reminder of several 'small worlds' fantasies that I read long ago that gave me a different approach to the problem. Some of you will recall Terry Pratchett's The Carpet People or his Bromeliad trilogy; or T.H White's Mrs Masham's Repose; or Mary Norton's The Borrowers; or even Lilliput from Jonathan Swift's Gulliver's Travels. I recall thinking about scaled distances and something of the carpet people, and wondered how time would be perceived by minute people. It is apparent by watching insects that their perception of time (insofar they have any such perception) would tend to make our minute seem like a considerably longer time - possibly even an hour or more - to them.
It became quickly clear that there was no directly proportional relationship between downward linear (much less volume) scaling and time scaling. But what was this relationship? Thinking about it again just recently, Galileo provided the answer. Imagine a two-meter tall person Call him Al, and two counterparts scaled to 2cm (1:100 scaling, call him Bert) and even to 2mm (1:1000, call this chap Colin). All three hold at head high a weight, which they drop. Now, the time intervals between release and the weights thudding into the ground will obviously differ according to the actual height released. But the perception of all three individually for the time taken for their own particular object to reach the ground will be the same.
This notion is actually quite familiar to anyone who has seen movies that used scaled models to depict destruction - train crashes, building collapses and the like. The two metre guy will note that his object took about 0.64 seconds to fall. The others will also note that according to their miniature time pieces the time was exactly the same. But to an independent observer timing all three, Bert's weight takes 0.064 seconds to fall (one tenth the 'Al's' time), and Colin's a whisker over 0.02 of a second. There's your relationship. Time scale is the square root of physical scale. If you scale (linear) size down by a factor of 100, then the time should be scaled by a factor of 10.
 |
| Chasseurs in march column. On table, it is likely these troops in this formation, will be in a hurry, hence their fairly generous move rate. |
In the matter of war gaming, we don't scale down according to figure scale, but to the environment in which these figures 'live' - the ground scale. For instance, if you decide that your ground scale should be 1 inch to 10 yards (Charles Grant's The War Game scale, i.e. 1:360), then the time scale 'should' be in the ball park of 1:19 - call it 1:20, just to keep things simple. If a turn represents a minute's action in 'real life', it represents 20 minutes on the table. Three turns is an hour; thirty-six turns a 12-hour day.
Now, my BB4ST ground scale purports to be 1:3000, which implies that the time scale should be roughly 1:55 (55x55=3025 - pretty close). Let's round it out to an even 1:60 - 1 minute represents an hour. A 12-hour day will be represented by 12 war game turns.
 |
| A Chasseur Brigade in line. The frontage is quite broad, which probably would interfere with other troops' manoeuvring. A thin line like this might find a charging column of enemy horse hard to cope with; but if it does hold, the enemy might find escape more than problematical. |
We do run into a little bit of a problem, though. Infantry marching at 6km per hour - pretty brisk, granted - travels in one minute 100 meters even. On my ground scale, this is 3.33cm - not what you would call greased lightning. We must be able to move faster than that!
On the other hand this minute is supposed to represent an hour, but 6km is represented by 2 meters on the table. As my table is just 6 foot long, my infantry can traverse its entire length in less than one bound. No, this won't do either. The thing has to be somewhere in between 3.33cm and 200cm - but there's a heck of a lot of 'between'! Looking for a 'fudge' with some purported mathematical basis, I took an idea from 'perspective geometry.' I decided that the move distance per bound, call it M, would be defined by this equation, the units being centimetres:
200/M = M/3.33
M^2 = 200 x 3.33
= 666
M = sqrt(666)
= 26 approximately.
Let's simplify this as 25cm, for a foot formation that allows for celerity of movement: the march column.
4.Rules for Movement:
Just to make things simple, and as 6km an hour is a pretty fast rate of travel, I'm inclined therefore to round things down, thus:
Infantry in march column: 25cm (10 inch) + 5cm (2 inch) on a roadway. The assumption here is that nearing the battlefield, the troops are probably moving 'at the double'. All other movement is geared around this benchmark.
Infantry in skirmish order: 25cm (10 inch) (I have some doubts about this provision)
Infantry in battlefield (or assault) column: 20cm (8 inch).
Infantry in line: 15cm (6 inch).
Infantry in square: 5cm (2 inch).
Light Cavalry in march column: 50cm (20 inch) + 10cm (4 inch) on a roadway.
Light Cavalry in battlefield column: 40cm (16 inch).
Light Cavalry in line: 30cm (12 inch)
Heavy Cavalry (includes 'heavy' Dragoons) in March Column: 40cm (16 inch)
Heavy Cavalry in battlefield column: 35cm (14 inch)
Heavy cavalry in line: 30cm (12 inch)
I am making the assumption here that the breadth of the formation is a bit of an equalizer as far as the manoeuvrability of light and heavy cavalry is concerned. I also have a feeling that at Brigade level, successive lines of regiments - which is what a column in my game represents - would be the preferred formation. The outcome of a fight between a cavalry column versus a cavalry line then would then be predicated on whether the column could break through the line before becoming enveloped by the enemy line. At this point, I am thinking in terms of giving the column a slight combat advantage, but a victory to the line being the more destructive of the enemy cohesion and morale. Comments?
 |
| Corps Artillery: the one gun represents the Corps' entire inventory of cannon. The four crew figures indicates this represents 32 guns - 4 x 8-gun companies. |
Horse Artillery (3-4pr, 'light' 6pr) limbered: 35cm (14 inch)
Horse Artillery manhandled: 10cm (4 inch)
Foot Artillery ('heavy' 6pr, 8-9 pr, 5.5"-7" howitzers) limbered: 30cm (12 inch)
Foot Artillery manhandled: 5cm (2 inch)
Heavy Foot Artillery (12pr; 8" howitzer): 25cm (10 inch).
Heavy Foot Artillery may not be manhandled except to change front.
At the scale we are looking at, this might well be too much detail. In that case, the default rules for all artillery will be those for the 'Foot Artillery'.
Foot Routing: 30cm (12 inch) These guys aren't hanging around!
Light Horse Routing: 60cm (24 inch)
Heavy Horse Routing: 50cm (20 inch)
 |
| A tentative basing system for my artillery: an isosceles triangle cut from a 7cm square piece of cardboard (i.e. 7cm frontage, and 7cm between the frontage and the point opposite. The angles indicate the arc of fire. Representing a little over 200 yards a 7cm frontage is admittedly a tight squeeze for 32 guns. |
As this posting is already pretty lengthy, I will stop here, and resume later on.


.JPG)


.jpg)