My 30YW armies nearing completion, methought to try out my ideas for the Battle of Lutzen (1632) pitting probably the two greatest commanders of the conflict: King Gustavus Adolphus of Sweden against Count Albrecht Eusabius von Wallenstein, in one of its bloodiest battles, considering the fairly modest size of the armies - fewer than 20,000 on each side.
 |
| The armies drawn up for battle: Swedish on the left, Imperialists facing them. |
 |
| The Imperialist position. The hex grid, together with the limited size of the table, does distort the line of tercios, somewhat! |
 |
| Behind Swedish lines. King Gustavus Adolphus commands on the right wing. |
Having settled upon a roughly 1 figure to 100 men representation, the cavalry, especially the Swedish and their interspersed commanded shot and battalion guns were always going to be a problem. What I have here is the best I could manage with the DBR-style elements, reducing to two 2-stand units on either flank, between three 2-stand units of horse. Two units of horse formed a second line, without the musketeers. Overall this gave the Army of Gustaf Adolph just 104 infantry figures - rather under-representing the c.12,000 history seems to indicate. Ought I add within the second line of horse units a commanded shot unit on each flank, bring the numbers up to 116?
 |
| The Swedish right wing: cavalry interspersed with commanded shot and battalion guns. |
 |
| Swedish centre - 8 foot units and a reserve of 1 cavalry unit in line of elements. |
The battalion guns can move 1 hex the time and shoot. The heavy guns I don't allow to move without a horsed team. One may be brought onto the table with suitable activation. Owing to the size of the table, I've doubled the range of the heavy guns: short range to 2 hexes, long out to 6. The current 1 and 3 hex ranges I have retained for the battalion guns. The line of fire comprises the immediate hex in front, and thereafter the same line and the hexes alongside.
 |
| Bernhard's wing |
Overall the Swedish army comprises 104 (or possibly 116) infantry, 66 cavalry, 2 heavy and 5 battalion artillery (18 gunners). There also 4 commanders: the King himself on the right, Brahe and Kniphausen in the centre, (with Ohm's small cavalry reserve 'under' Kniphausen); and Bernhard of Saxe-Weimar (he with the vaguely Saxonic black-green-yellow flag) on the left.
Swedish OOB:
Swedish OOB:
- 8 'Brigades' each with 4 pike and 6 shot @ 4SP = 32SP
- 4 'Commanded shot' units each with 6 shot @ 3SP = 12SP
- 9 'Swedish' (i.e. charging) cavalry each with 6 troopers @ 3SP = 27SP
- 2 Allied cuirassier units each with 6 troopers @ 4SP = 8SP
- 2 Heavy artillery each with 4 crew @ 2SP = 4SP
- 5 Battalion Guns each with 2 crew @ 1SP = 5SP
- 1 Army commander and 3 wing commanders
Totals: 104 foot, 66 horse, 7 cannon
Strength Points: 88. Exhaustion Point: minus 30SP; Rout Point: minus 44SP.
Strength Points: 88. Exhaustion Point: minus 30SP; Rout Point: minus 44SP.
 |
| Imperialist left - looking a bit thin on the ground |
On the Imperialist left, the horse looks awfully thin on the ground. Three units of harquebusiers, and, on the other side of the Flossgraben stream, a 2-stand unit of Croat light cavalry. OK, special rules required for the Croats - 2SP, close combat only, average. The Imperialists favouring the deep columns, I have arranged them in units of 3 stands. At the moment this is for the 'look' of the thing, but I should like really to add something in the rules in their favour for their columnar depth, bearing in mind the 'cost' of the extra stand. In this army, the harquebusiers should count no better than 'average'. Something to work on, here.
 |
| Imperialist centre: the tercios in 'line' |
My, the Imperialist centre do look crowded, don't it just? For come reason, I didn't imagine just how solidly packed these tercios would be. Having deployed them in a species of line, I note that some early depictions (both, notably, from the Imperialist perspective) arrange the tercios in a lozenge arrangement. We'll see more about that in due course.
 |
| The first of two depictions of Lutzen from behind Imperialist lines. Note the arrangement of the Imperialist tercios |
 |
| This animated depiction conveys, I think, some notion of the ferocity |
Imperialist left. On the right, Lutzen is on fire.
The Imperialist right comprised a mix of harquebusiers, with commanded shot and artillery on the rising ground - 'Windmill Hill', without the windmills. Overall on the field the Imperialists comprised:
Imperialist OOB:
Imperialist OOB:
- 4 tercios each with 8 pike and 12 shot @ 6SP = 24SP
- 2 commanded shot units each with 6 shot @ 3SP = 6SP
- 3 'forlorn hope' elements each with 2 shot @ 1SP = 3SP
- 6 harquebusier mounted units each with 9 pistoleers @ 3SP = 18SP
- 1 Croat unit with 4 light horse @2SP = 2SP
- 4 heavy guns each with 4 crew @ 2SP = 8SP
- 1 Army commander and 3 wing commanders
Totals: 98 foot, 58 horse, 4 cannon
Strength Points: 61. Exhaustion Point: minus 21SP; Rout Point: minus 31SP.
Strength Points: 61. Exhaustion Point: minus 21SP; Rout Point: minus 31SP.
 |
| Imperialist right. The rising ground is 'Windmill Hill' - without its windmills |
 |
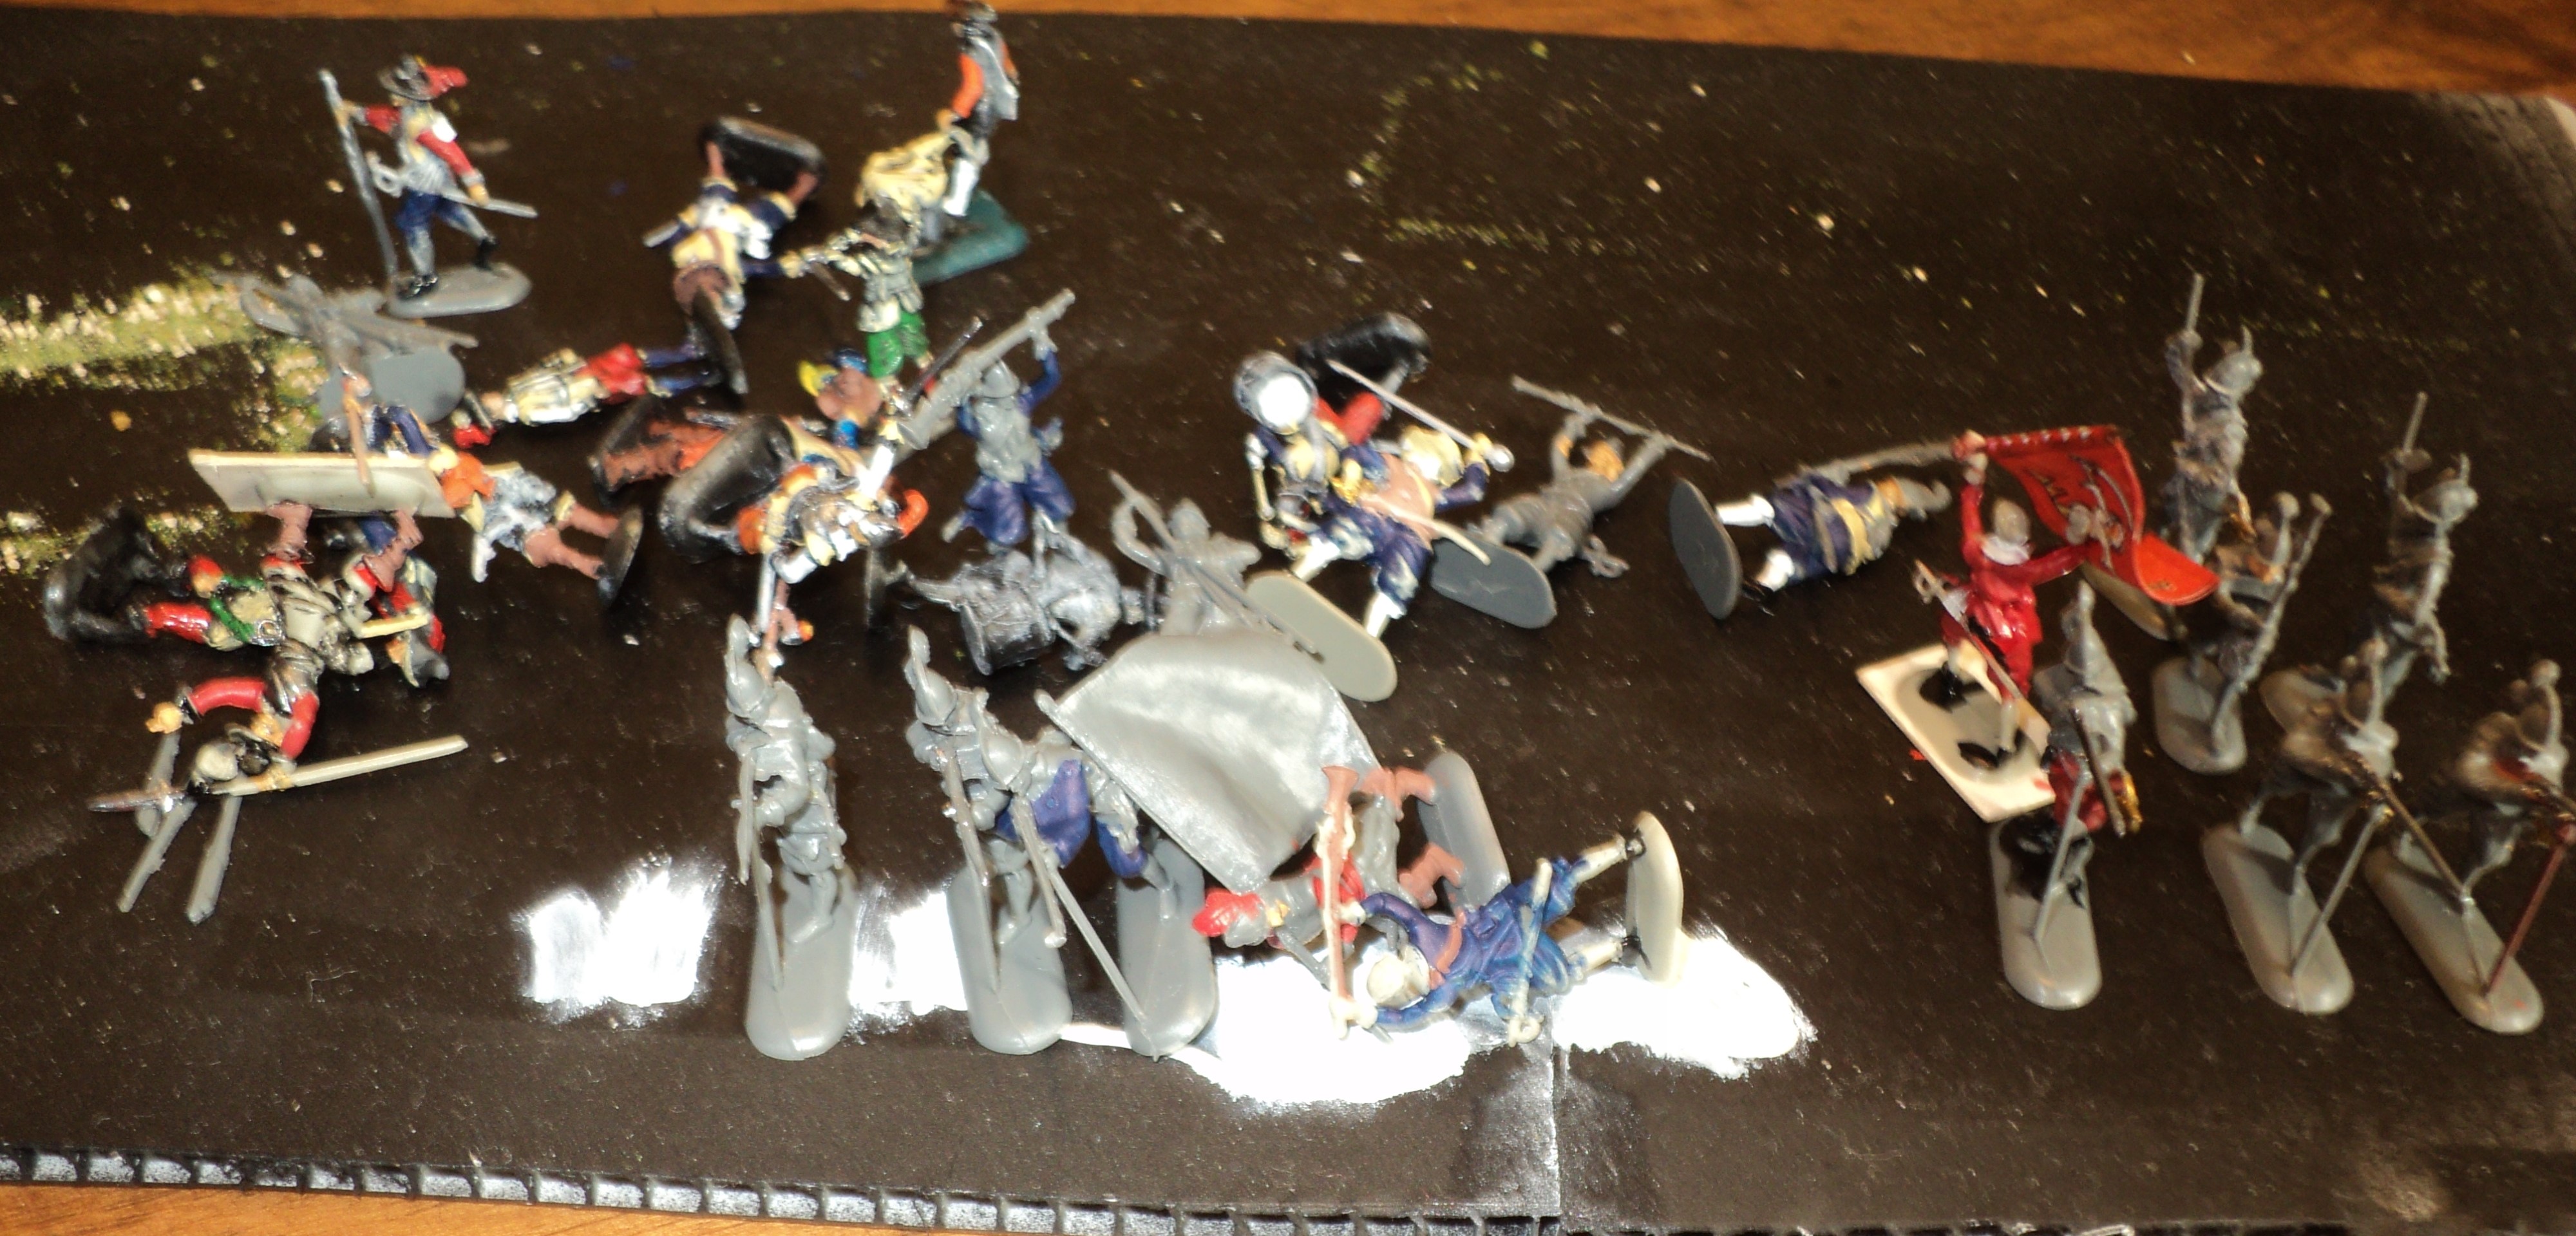
| Pappenheim's reinforcements, hurrying towards Lutzen |
- 4 cuirassier units each with 6 figures @ 4SP = 24SP
- 1 wing commander (Pappenheim)
This brings the totals up (if and when he arrives) to:
Totals: 98 foot, 82 horse, 4 cannon
Strength Points: 85. Exhaustion Point: minus 29SP; Rout Point: minus 43SP.
Of course, these values will depend upon what losses the Imperialists might have taken before Pappenheim's arrival on the field.
A final comment I should make upon the composition of the cavalry forces I have chosen both sides. Frankly it was less a guess than a decision based upon what units I had available, and their sizes. So really they were all fudged. The 'Saxon' cuirassiers I placed with Bernhard of Saxe-Weimar's wing.
The battle was fought a week ago. I'll leave the post-action narrative until next time:
To be continued...